5 Tips for Repairing Drywall Dents and Holes
Every home, whether new or old, has its fair share of memories etched into its walls — some of them in the form of dents and holes in the drywall. Whether it’s from a door handle, moving furniture, or a DIY project gone awry, these imperfections can detract from the beauty of your interiors. But fear not, because repairing drywall is a task most homeowners can tackle with a bit of guidance.
Here are five expert tips to help you seamlessly fix those pesky drywall dents and holes.
1. Choose the Right Patching Compound
The Foundation of Your Repair
When it comes to repairing drywall, the type of patching compound you choose can make a world of difference. For small dents and minor imperfections, lightweight spackling will do the trick. For larger holes, opt for a joint compound, which offers a sturdier finish.
Tips & Tricks:
- Ensure the compound is free from lumps for a smooth application.
- Store leftover compound in a cool, dry place for future touch-ups.
2. Properly Prepare the Area
Setting the Stage for Perfection
Before diving into the repair, it’s vital to prep the damaged area.
Steps:
- Clean the area around the dent or hole, ensuring it’s free from dust or debris.
- If the hole has jagged edges, trim them with a utility knife to create a clean, even surface.
- For larger holes, consider placing a mesh or adhesive patch over the area before applying the compound.
3. Application is Key
A Steady Hand Makes Light Work
Applying your patching compound might seem straightforward, but technique matters.
Tips & Tricks:
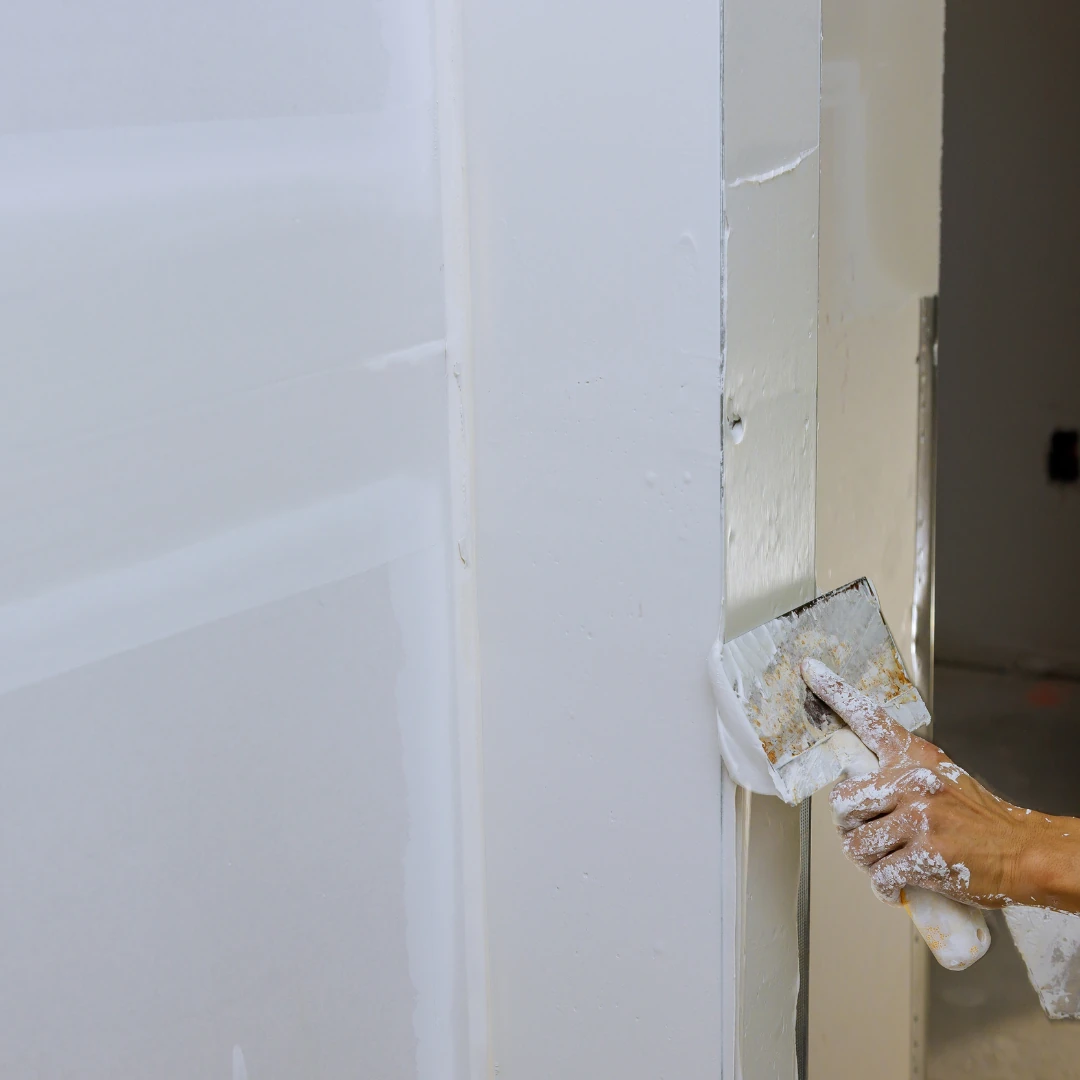
- Use a putty knife to scoop out the compound and apply it to the dent or hole.
- Smooth out the compound using the knife, feathering the edges to blend with the surrounding wall.
- Allow the compound to dry according to the manufacturer’s instructions. Larger patches might require a longer drying time.
4. Sand and Prime
The Finishing Touches
Once your patching compound is dry, it’s time for the finishing touches.
Steps:
- Use fine-grit sandpaper to gently sand over the repaired area, ensuring it’s flush with the surrounding wall.
- Wipe away any dust using a damp cloth.
- Before painting, apply a primer over the repaired spot. This helps conceal the repair and provides a consistent base for the paint.
5. Paint with Precision
Blending the Old with the New
The final step is to reintroduce color to your repaired area.
Tips & Tricks:
- If possible, use leftover paint from the original wall color. This ensures the best match.
- For older walls, consider painting an entire wall or section. Over time, paint can fade or discolor, so a larger area might need a refresh to blend the repaired spot seamlessly.
- Always use a primer before painting, as it helps achieve an even paint application.
Conclusion: Embrace the Power of DIY
Fixing dents and holes in your drywall might seem daunting, but with the right tools and techniques, it’s a breeze. Embrace the satisfaction that comes with DIY repairs and relish in the seamless beauty of your walls.
If you’re looking for professional assistance or unsure about the extent of the damage, Cambridge Drywall Services has your back. With two decades of expertise in repairing drywall and other related services, we ensure your walls look their absolute best. Reach out to us today and let our experts take care of your drywall woes.
